Wednesday, May 25, 2011

Scrap Saver's Pincushion Tutorial: Day 126

An Eco-Conscious Project
For Tuesday, May 24, 2011

Here is a simply-structured Pincushion using felted sweater scraps.
You may use pieces from one sweater, or you may scrounge in your stash of small pieces and create a one-of-a-kind, multi-colored version.
Have fun!

The only new material used in this pincushion is the embroidery thread.

Here are the instructions for a small size Pincushion!

These are the scraps I chose from previous projects.

The ribbed section is 8" long by 1 1/4" wide.
You may cut your pieces to match mine, or create your own size based upon your scrap pieces.
I will guide you through the process and how I determined the size for each section.
After butting together the ends, I stitched them together.

My circle was 2 1/2" in diameter.

From that measurement I took my trusty compass and drew a 2 1/2" circle so I would have a pattern for the top and bottom pieces.

Pin the pattern to the fabric and cut out the circle.

The brown sweater fabric was barely the size for the pattern, but I was happy to be able to use it!

Before beginning to stitch the circle to the ribbed section you may want to section it off and pin it in so it can be eased into its place.

The blue circle pinned in prior to stitching.
By doing this you will be able to keep the fabric equally distributed as you stitch.
First circle is stitched.
I used a Blanket Stitch, but you may choose a different method.
Anything goes here.

Please look at the wonderful tutorial HERE by futuregirl.com for this Blanket Stitch!


You may also add some detailing if you choose.
I added a few French knots

(Go to needlenthread.com for other videos and instructions for simple, clear tutorials.)
This is a good time to add any embroidery that you want, as you still have easy access to the underside.


The inside view after stitching the first circle.


Now for the other circle...
If you want to add embroidery to this one, it is best to do now before stitching it to your base pincushion that you have begun.
I added a Lazy Daisy flower and a stem of Backstitch.

(Again, great written instructions for the Lazy Daisy and a great video for the backstitch tutorial from needleandthread.com.)

Time to stitch the second circle in place.
Be sure to leave an opening to insert the stuffing.

This is my basket of small scraps that I drew from tonight.
I am going to use the smallest of pieces to use for the stuffing. I hate to waste pieces that might be good for future projects, so I will just take the pieces that are just too small for anything else.
 It is just fine to use polyfil if you like.
My preference is to use the sweater pieces, however, because they are great for keeping your needles and pins clean and sharp. Also because they practically jump into this material almost by themselves.
It's smooth and wonderful. 

Here is my pile of cut up pieces for the stuffing.

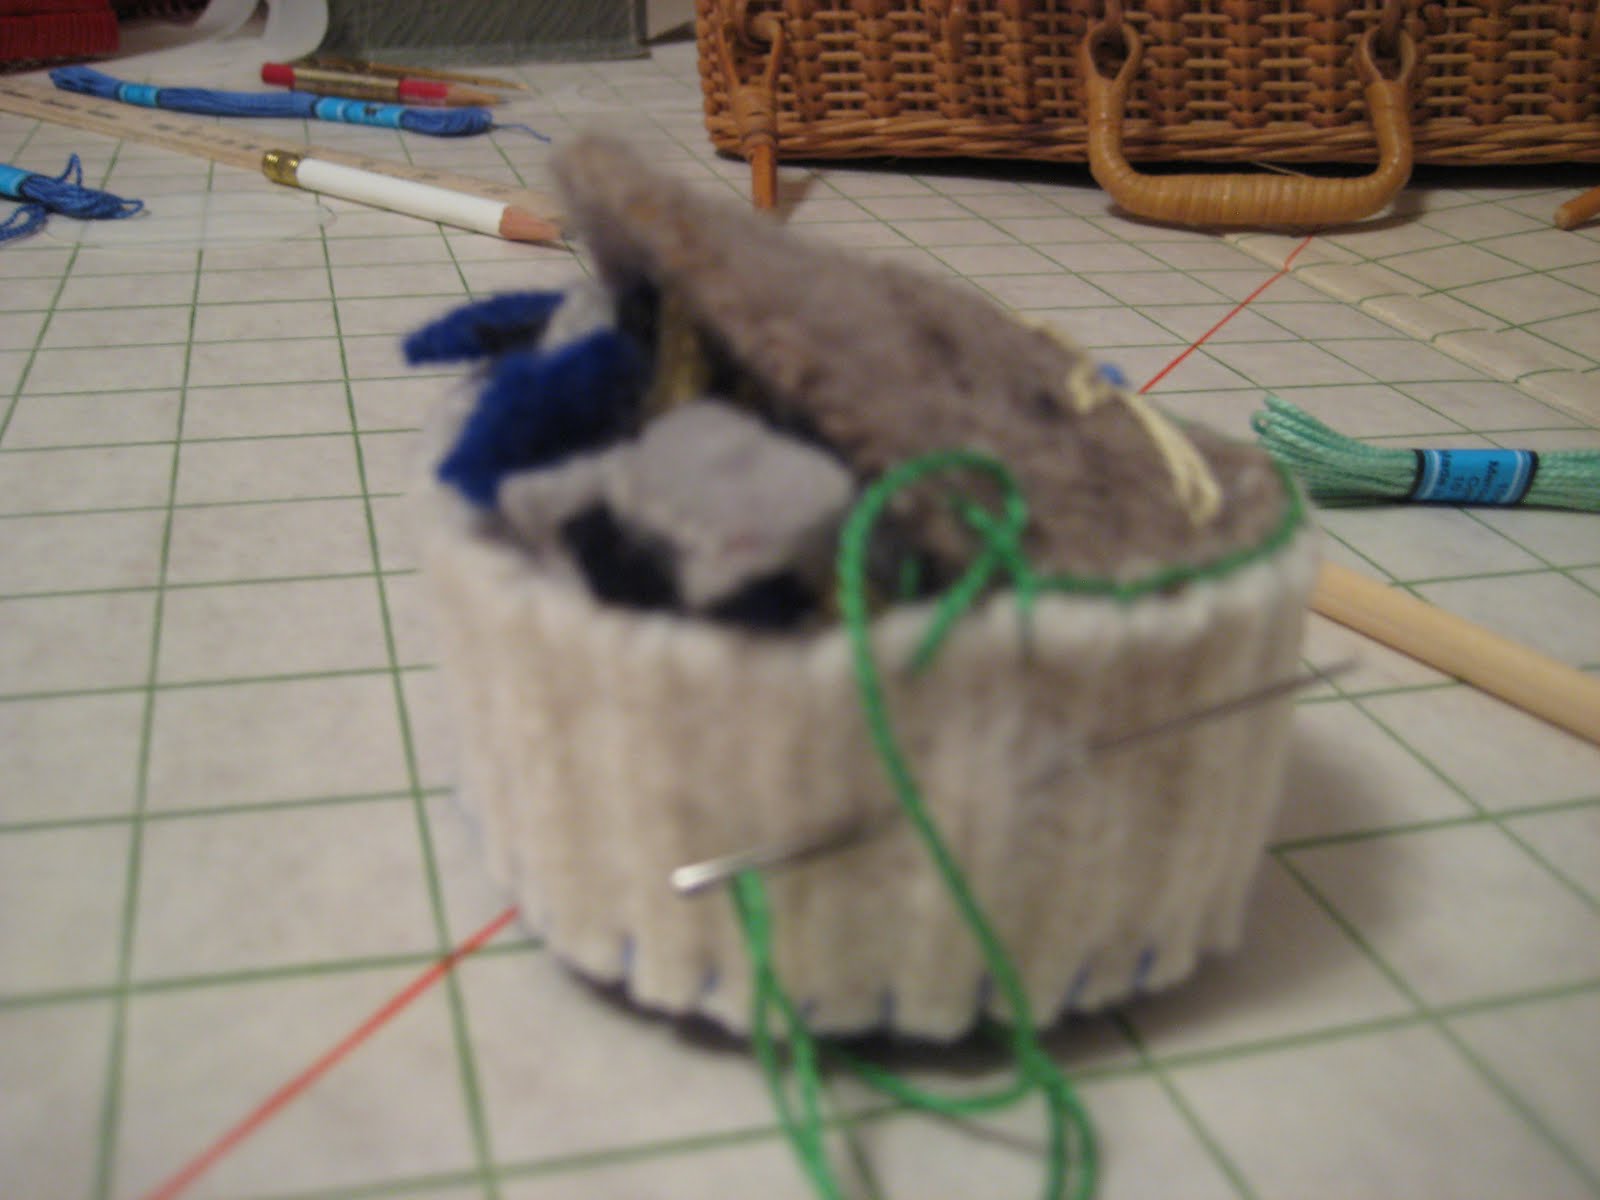
My Pincushion, ready for the stuffing process.
The chopstick is used to mush around the pieces to make sure there are no lumps and bumps.

The stuffing is now inside and the final stitching can be done.
(Sorry about the fuzzy photo.)

View of Lazy Daisy side.

View of French Knot side.

So really I have 2 pincushions...

...for whatever sewing mood I'm in.

I hope you make a Pincushion of your own.
Please let me know if you have questions or want more information. :-]


*I want to acknowledge, once again, the wonderful tutorials for the embroidery stitches I used on the project from futuregirl.com and needlenthread.com. They are both GREAT resources.
Thank you to both of these websites!

Enjoy!

Tuesday, May 24, 2011

A Hat: Day 125

Something To Keep Ears Warm!
For Monday, May 23, 2011

Remember the Neck Warmer that I created from the big collar of a pink sweater?
Here it is:
Tonight it will be transformed into something different.
This evening's project was inspired by the tutorial posted by Jennifer Ackerman-Haywood of CraftSanity.
Get great instructions HERE for a cool project that is not difficult to make.

Turning the collar inside-out I then ran a basting stitch around the top of the hat.

Basting stitches meet--they have come full circle, literally!

They are then pulled tight to create a closed top end.


Also stitched through the gathers to better secure them.

And the finished hat.

A quick project for a late night start/finish!

Sunday, May 22, 2011

Sweater Monster Completed: Day 124

I Have a Happy Monster!

Today I finished my little Monster.

See for yourself the results of the last few days...

 (Most of the photos are about the backing fabric--the last phase of this project).

The most trying part of tonight's work:
turning the raw edges and pressing them. 

Backing pinned in place; now ready for the hand stitching.

Hand stitching completed.

The last bit of stuffing material pushed inside.

Rear view of completed Monster.

Happy Stuffed Monster!
Now he has a knotted blue tail to match his beautiful front. :-]
I wish you could feel his soft, huggable Self.

Thanks for hanging in there with me on this Monster Adventure.
See you again tomorrow to embark on another project.

Saturday, May 21, 2011

Softie Monster, On-Going: Day 123

All Parts Ready For Stuffing!


Here's the Inspiration from the thrift store yesterday:

A Wonderful Orange Plaid Cotton Shirt!
This gave me the idea that Monster would be even more endearing with a surprise woven fabric backing.


(I was thinking about the PILLOW I made that had the flannel shirt as the envelope closure, and came up with this idea when I saw this great shirt.)

A close view of the plaid fabric.

Now I am ready to cut out the backing for Monster.

Happy Face Monster...
His shoes are tied and he's ready to play.

Sweater Monster!
To be continued tomorrow. He may just get finished then. :-]

A Happy Sunday, May 22, to you!

Friday, May 20, 2011

Monster, Hand-Stitching: Day 122

Stitches, Stitches

Monster Softie is progressing.

The embroidery is a slower process than ultimately putting the pieces together, 
but an interesting part of the project.

This afternoon I made another eye for him and started some detailing of the left ear.
Here are the results:

My Assistant is helping by taking a nap
(so he doesn't get entangled in embroidery floss).
Now you can see Monster with both his eyes!

The right eye is bigger than the left. Planned that way, of course.

This is what I might call the "Winging-It Stitching".
In other words, I will let my hand and fingers do the creating as the stitching progresses.
What comes of it will be a surprise.

Now I am beginning to add some detail to the ear.
I have outlined my future stitching line with the floss, and will now complete the process.
This stitch type is called couching.
HERE is a couching stitch instruction site. Very simple to do.

Here is the work so far.
This is as much as I have time for today.

Up close and personal with the Couching Stitch.

Tomorrow I have some new ideas for the backing piece for Monster...I visited my closest local thrift store this afternoon and they were having a 50% off sale! Lucky me. This is always an opportunity for inspiration and great purchases. Don't miss tomorrow's blog.

See you then.
Have a Happy Weekend.

Thursday, May 19, 2011

Softie Monster: Day 121

A Cross Between Cuddly and Slightly Scary!

Tonight's goal is to start a Softie Monster.
Something to hold tight in the middle of the night when thumps go bump, and slithery sounds sweep across the roof...!!

Here are the beginnings:

I drew this pattern on tracing paper so I could pin it to the sweater fabric.

The chosen sweater: 100% Lambswool.
An Eddie Bauer creation, very thickly felted.
It's about 1/4" thick!

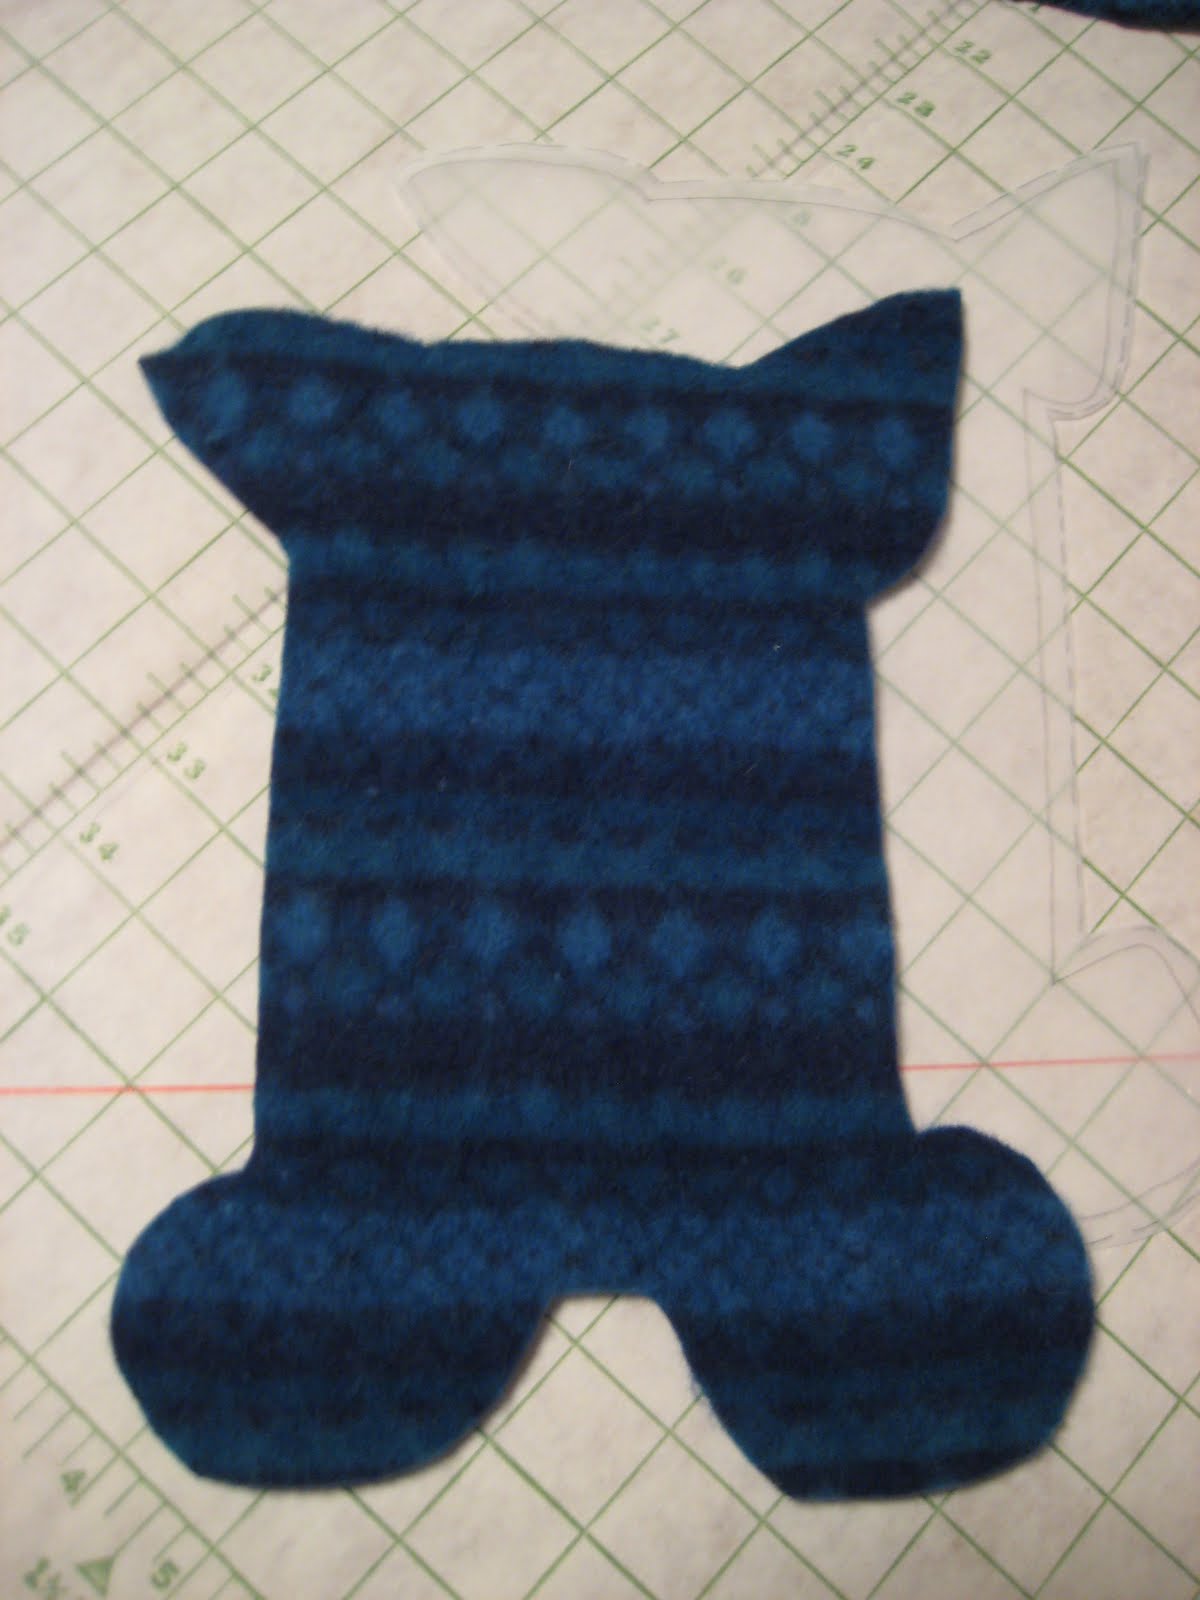
Ready to cut the front section.

Big feet, askew ears, rectangular body.
A shape only a mother could love?...
Not really. I think this will be very lovable. We shall see. 

I LOVE EMBROIDERY!
Here goes the beginning of the left eye.
Backstitch googly stuff and French knots encircling it.
Where this goes, who knows. :-]

Monster is watching you!
Stay tuned for the evolution of Cuddly Monster.