An Eco-Conscious Project
For Tuesday, May 24, 2011
Here is a simply-structured Pincushion using felted sweater scraps.
You may use pieces from one sweater, or you may scrounge in your stash of small pieces and create a one-of-a-kind, multi-colored version.
Have fun!
The only new material used in this pincushion is the embroidery thread.
Here are the instructions for a small size Pincushion!
 |
| These are the scraps I chose from previous projects. |
 |
| The ribbed section is 8" long by 1 1/4" wide. You may cut your pieces to match mine, or create your own size based upon your scrap pieces. I will guide you through the process and how I determined the size for each section. After butting together the ends, I stitched them together. |
 |
| My circle was 2 1/2" in diameter. |
 |
| From that measurement I took my trusty compass and drew a 2 1/2" circle so I would have a pattern for the top and bottom pieces. |
 |
| Pin the pattern to the fabric and cut out the circle. |
 |
| The brown sweater fabric was barely the size for the pattern, but I was happy to be able to use it! |
 |
| Before beginning to stitch the circle to the ribbed section you may want to section it off and pin it in so it can be eased into its place. |
 |
| The blue circle pinned in prior to stitching. By doing this you will be able to keep the fabric equally distributed as you stitch. |
 |
| First circle is stitched. I used a Blanket Stitch, but you may choose a different method. Anything goes here. Please look at the wonderful tutorial HERE by futuregirl.com for this Blanket Stitch! |
 |
| You may also add some detailing if you choose. I added a few French knots. (Go to needlenthread.com for other videos and instructions for simple, clear tutorials.) This is a good time to add any embroidery that you want, as you still have easy access to the underside. |
 |
| The inside view after stitching the first circle. |
 |
| Now for the other circle... If you want to add embroidery to this one, it is best to do now before stitching it to your base pincushion that you have begun. I added a Lazy Daisy flower and a stem of Backstitch. (Again, great written instructions for the Lazy Daisy and a great video for the backstitch tutorial from needleandthread.com.) |
 |
| Time to stitch the second circle in place. Be sure to leave an opening to insert the stuffing. |
 |
| This is my basket of small scraps that I drew from tonight. I am going to use the smallest of pieces to use for the stuffing. I hate to waste pieces that might be good for future projects, so I will just take the pieces that are just too small for anything else. It is just fine to use polyfil if you like. My preference is to use the sweater pieces, however, because they are great for keeping your needles and pins clean and sharp. Also because they practically jump into this material almost by themselves. It's smooth and wonderful. |
 |
| Here is my pile of cut up pieces for the stuffing. |
 |
| My Pincushion, ready for the stuffing process. The chopstick is used to mush around the pieces to make sure there are no lumps and bumps. |
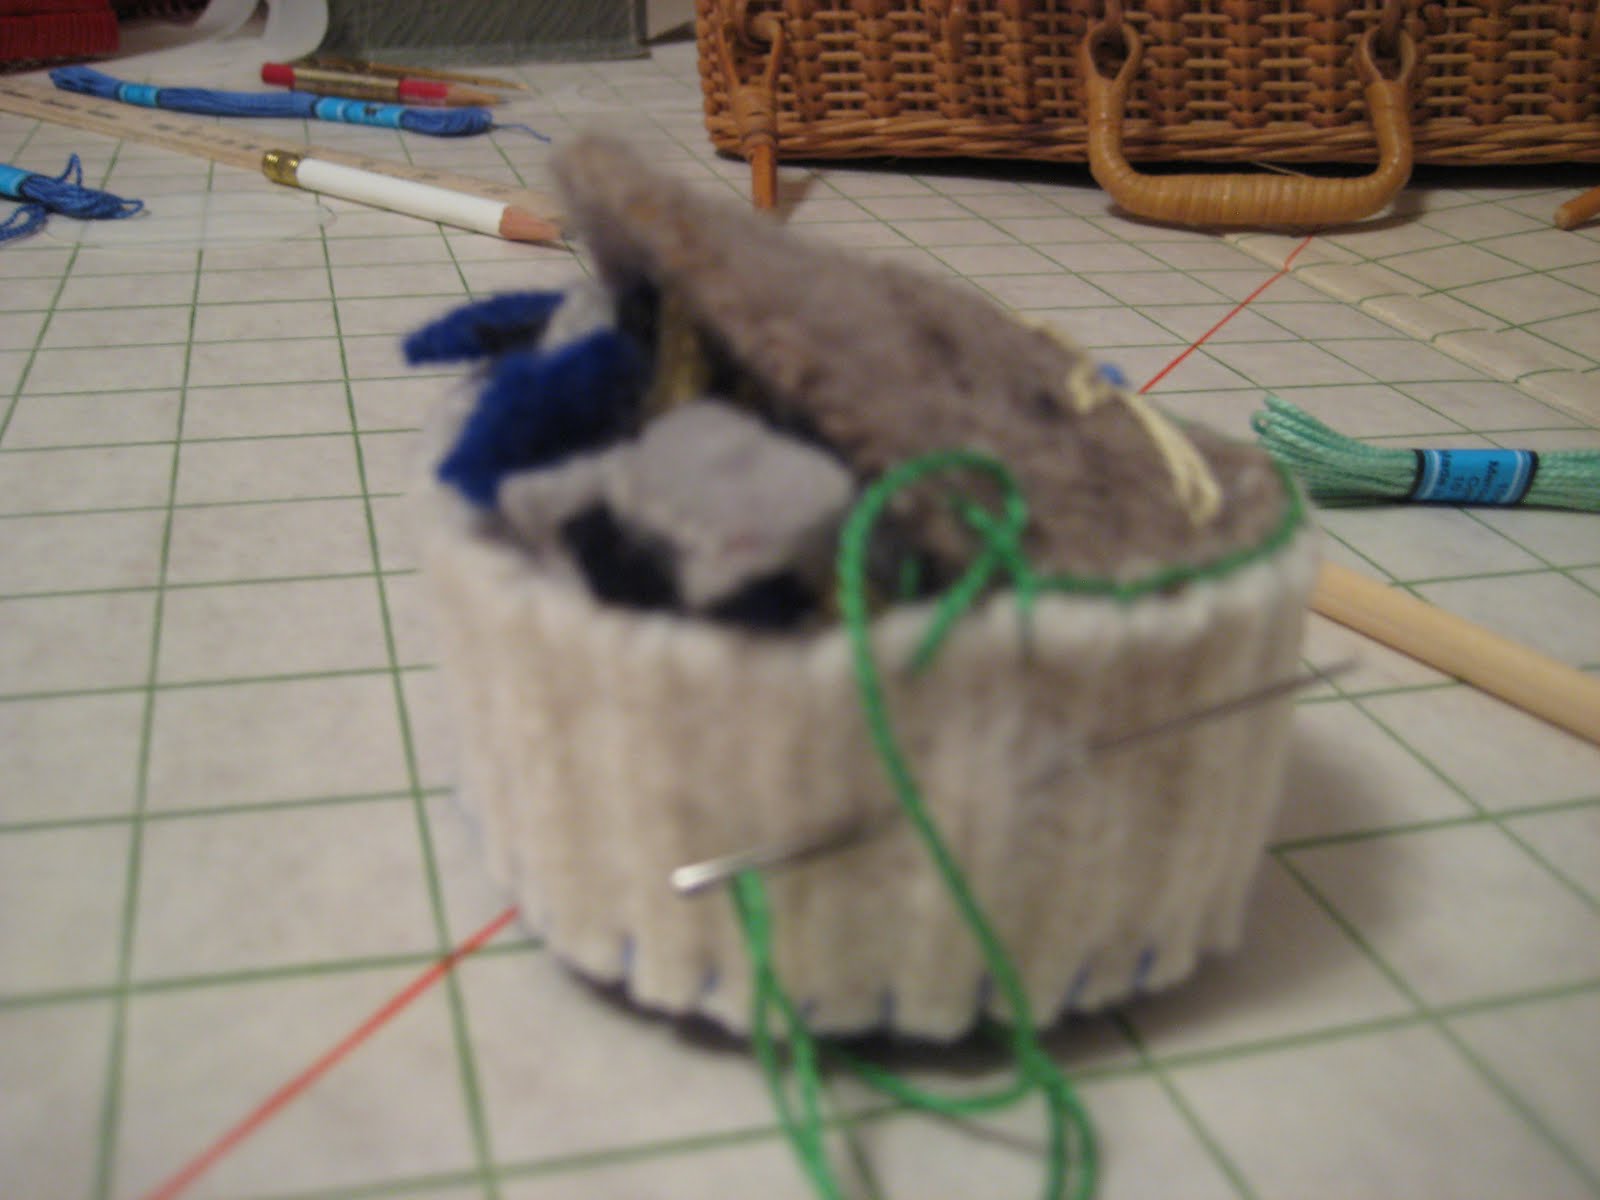 |
| The stuffing is now inside and the final stitching can be done. (Sorry about the fuzzy photo.) |
 |
| View of Lazy Daisy side. |
 |
| View of French Knot side. |
 |
| So really I have 2 pincushions... |
 |
| ...for whatever sewing mood I'm in. I hope you make a Pincushion of your own. Please let me know if you have questions or want more information. :-] *I want to acknowledge, once again, the wonderful tutorials for the embroidery stitches I used on the project from futuregirl.com and needlenthread.com. They are both GREAT resources. Thank you to both of these websites! Enjoy! |
Very cute :). The flower is such a nice touch!
ReplyDeleteyour pin cushions remind me of candy and sushi rolls - two thing I love! Great job!
ReplyDeleteThanks, Tricia, you make me feel good. I knew there was something about it that made me happy, too, just didn't know what. Candy and sushi rolls!
ReplyDeleteGlad you like the flower, Resweater!
ReplyDelete